Back in the groove of things!

It’s been a while… I know, one of these days you’ll get sick of hearing me say this, I’m sure.

With my head playing up like it’s been doing the last few months, I’ve learned that I have to pace myself when doing things.

Even though you haven’t heard from me in a while, it doesn’t mean that B and I haven’t been up to anything πŸ˜‰

We have been a little busy actually! Mostly doing other people’s stuff.

This is a quick recap of what we have been up to since you heard from me last:

  • I’ve been dealing with insurance stuff for my step-mum, after a young man hit her car and ran away without leaving a note (thankfully there was a witness).
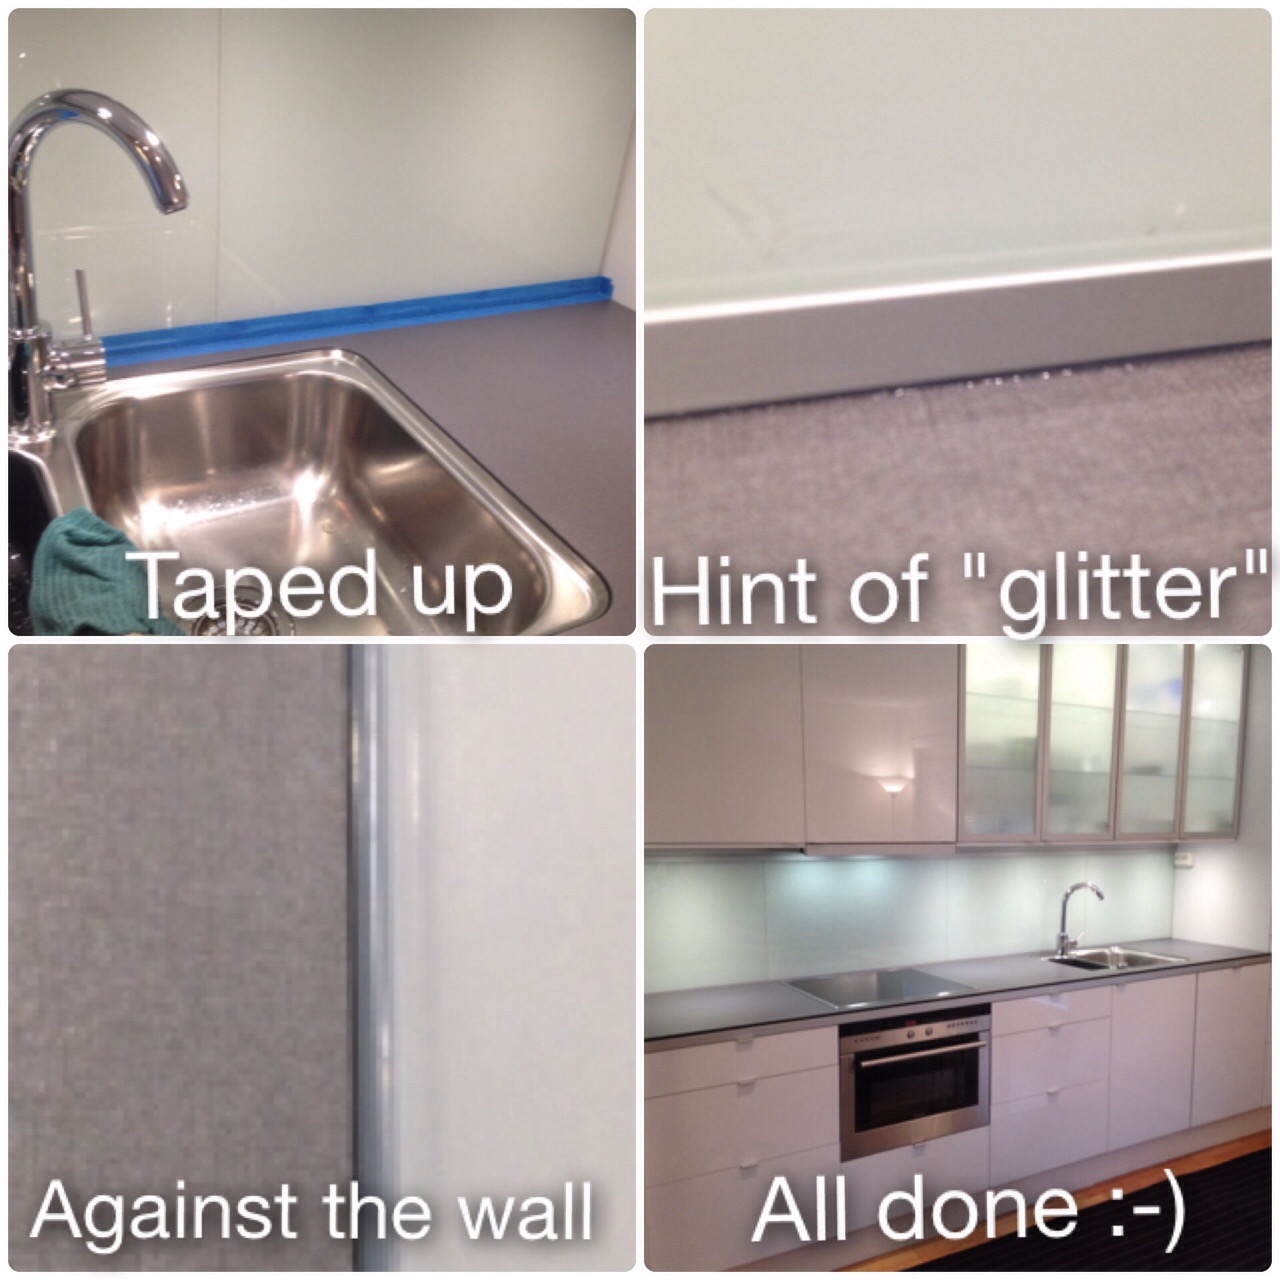
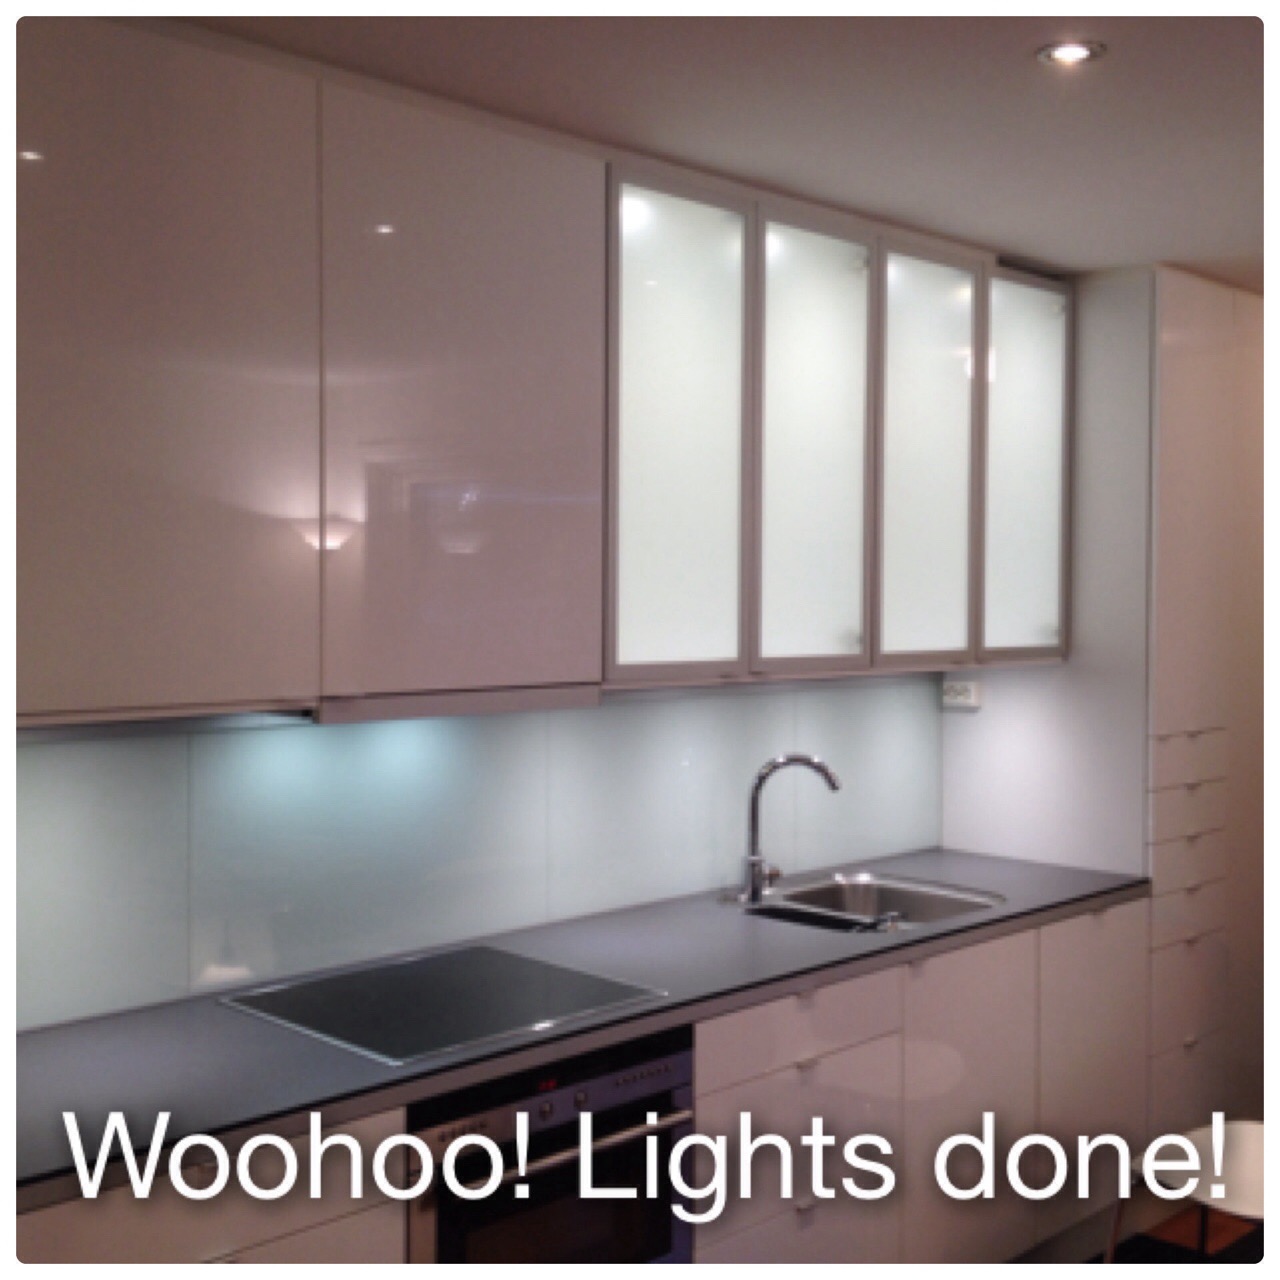
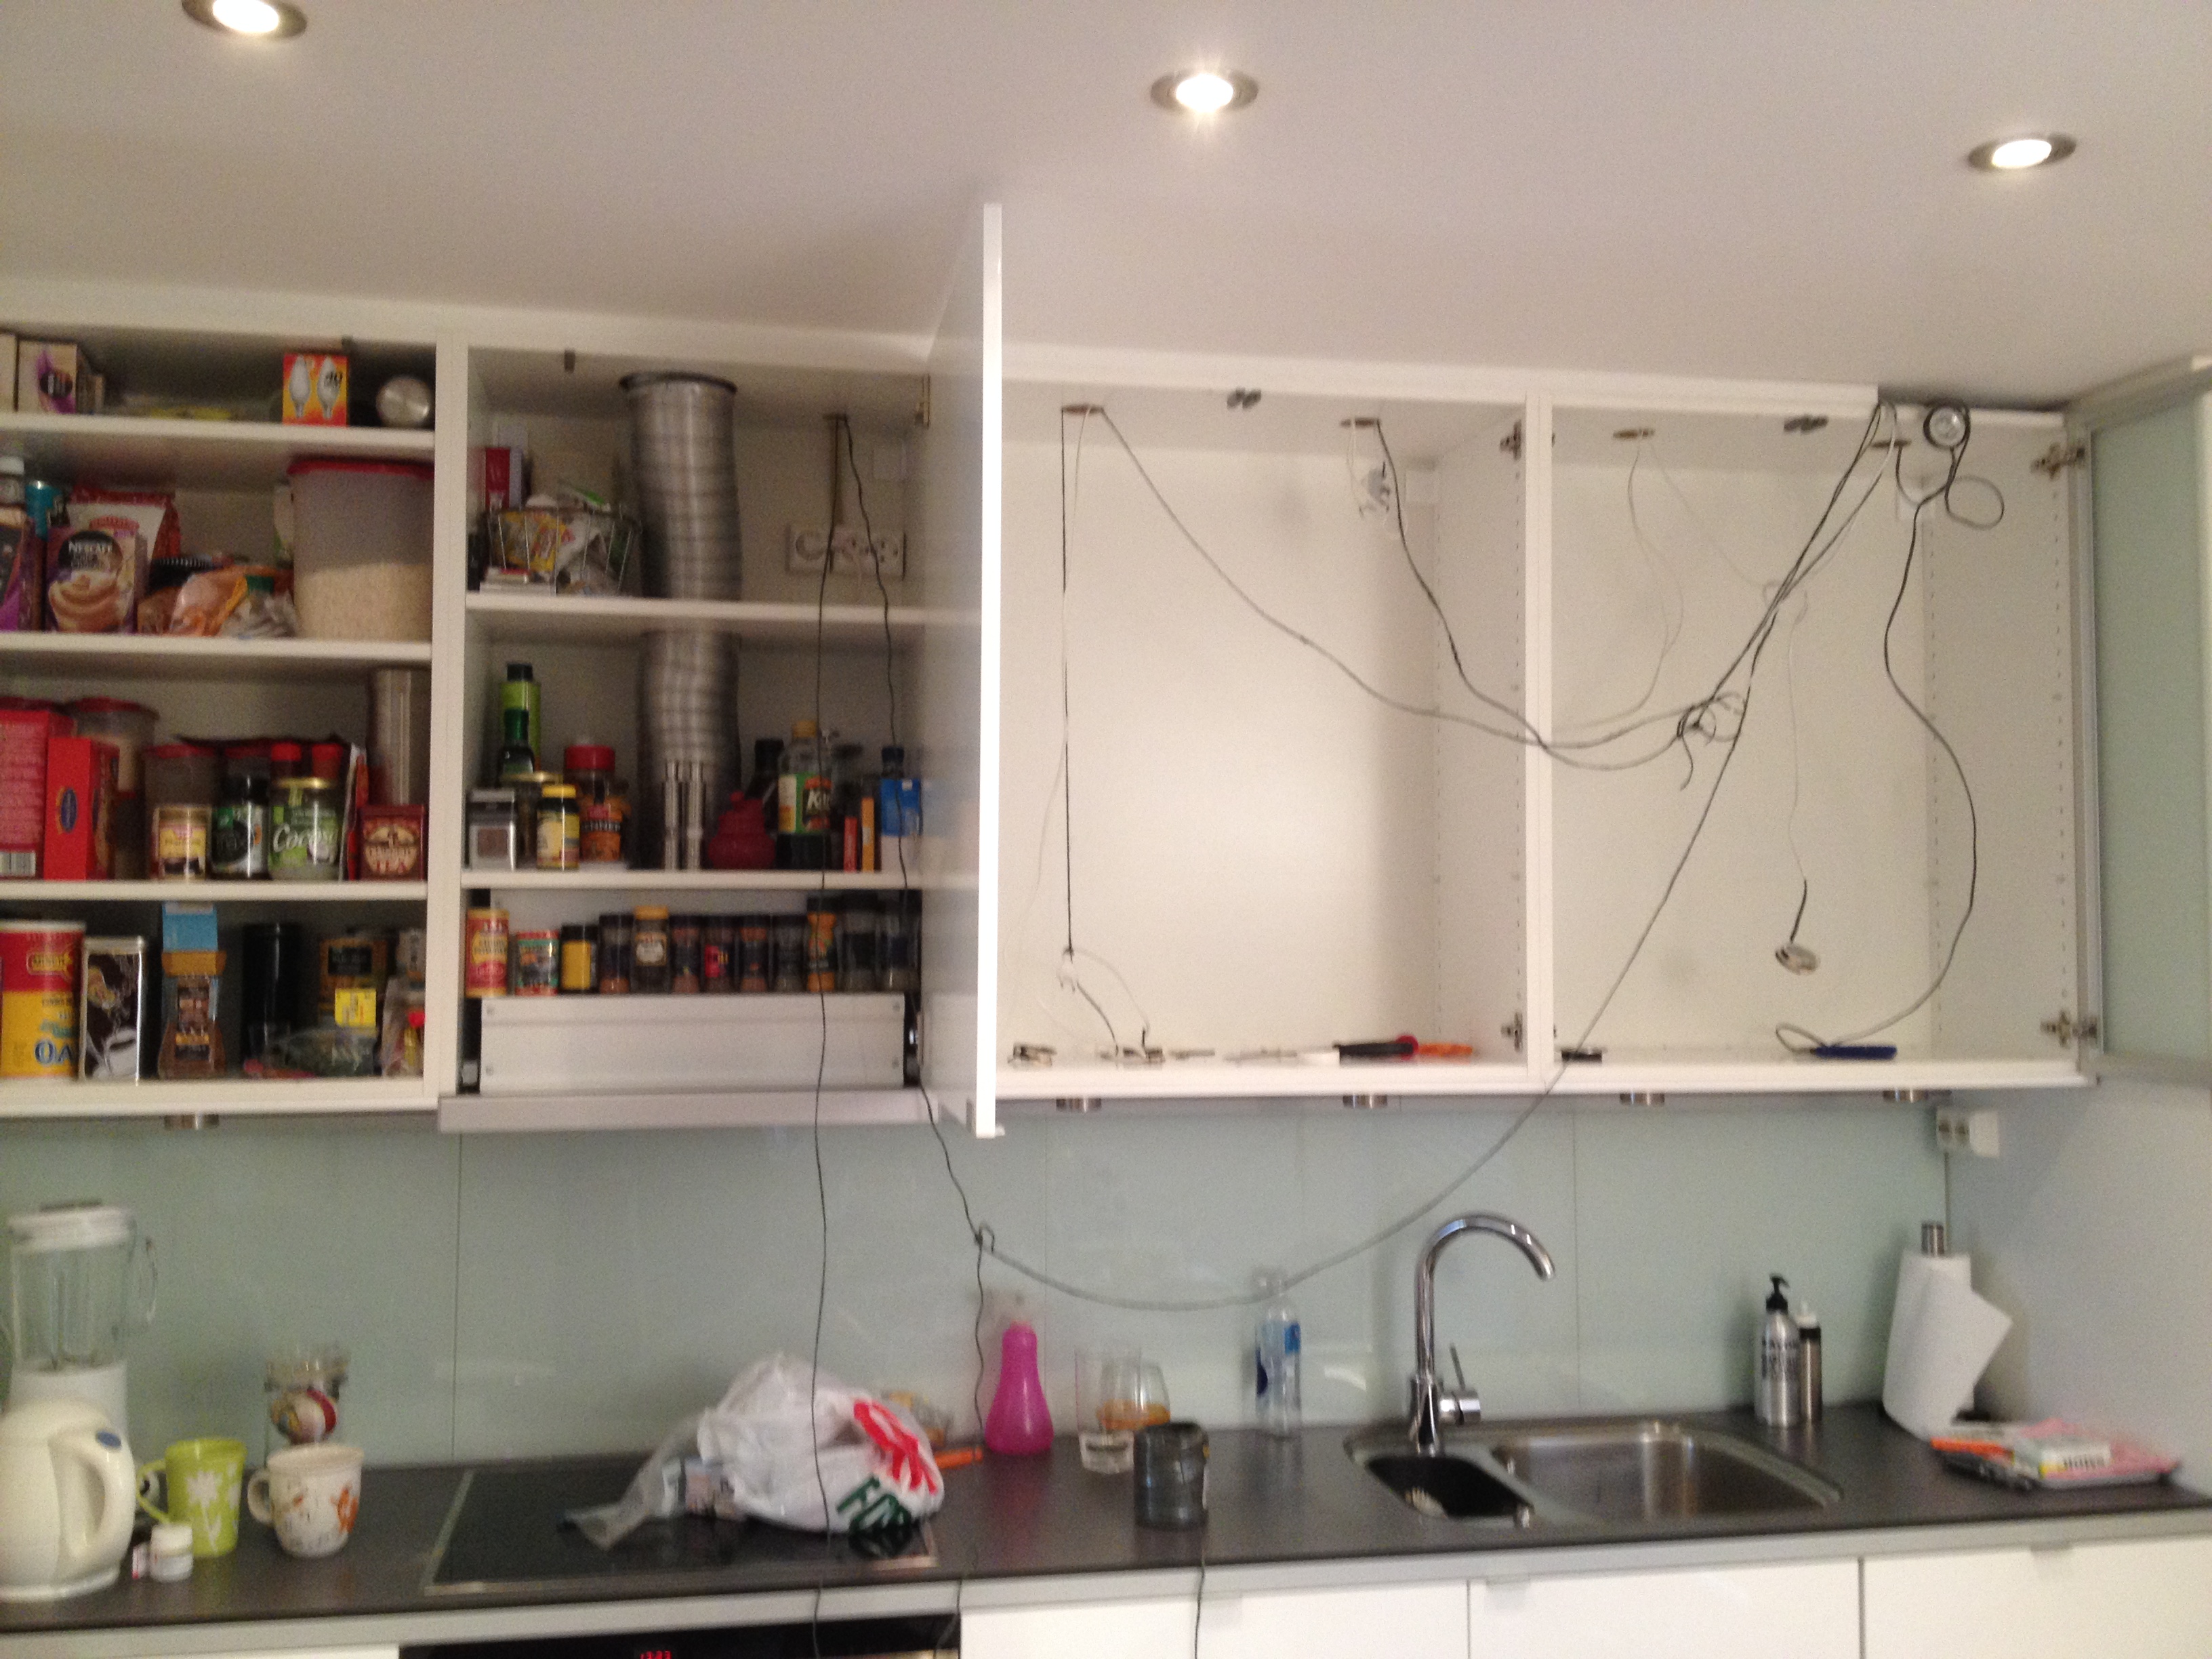
  • We have been flexing our handyman skills at a friends place, installing a couple of ceiling lamps, changing door handles and oiling up a couple of doors and swapping out some reeeaaaallly rusted outdoor ventilation covers.
  • We have helped my neighbor with moving some clothing cabinets, installing a couple of bunk-beds and a desk. Mostly just helped her set up her daughters room so it’s easier for them to share a room and still have a private corner.
  • My stepmom wants heated floor in her condominium. This task has turned out to be a bit more work than we though.. and deserves a blog-post of it’s own πŸ˜‰
  • I’ve been dealing with a lot of admin stuff related to the row of townhouses I belong to (which is still an ongoing task, not quite settled, yet)

Have we done anything for us?

Well yes, as a matter of fact… we have.

You might remember from earlier this spring that we built a patio at a friends house? From that job there was some leftover decking material.

I’ve had a couple of plans for those leftovers, among them I wanted to build a “big” planter/storage box. So about a week ago, we kinda finished that box πŸ™‚ It’s on wheels so it’s easy to move around (it would be impossible without wheels, as it’s large enough that you would need three super strong men to move it, if it is ever filled with soil and plants). Β I will be using it as a combination planting table and storage box for material, like pots, mulch, sand etc.

As I’m planning on using it as a storage box and as a planting table, I need to add a lid at some stage. A lid with not only keep everything inside dry, but also give me a surface to use as a table. I haven’t quite figured out what I want make the lid from yet. I’m thinking either treated plywood, or maybe try to make a lid with the leftover decking. When it’s done I’ll show you, but for now you can see how the box looks today. I’m really happy with how it turned out Β πŸ˜‰

So what about decluttering?

You would think that with all the stuff going on for everyone else, that I took a declutter break! And in a way you would be right πŸ˜‰

My decluttering has been a little on and off since you last heard from me. A little here, a little there….

Some of it has made it out of the house.. I’ve got pictures πŸ˜‰

But some are still hanging around in my catch-all room (guestroom) – gotta take pictures for the blog and all, you know πŸ˜‰

So what has actually made it out of the house?

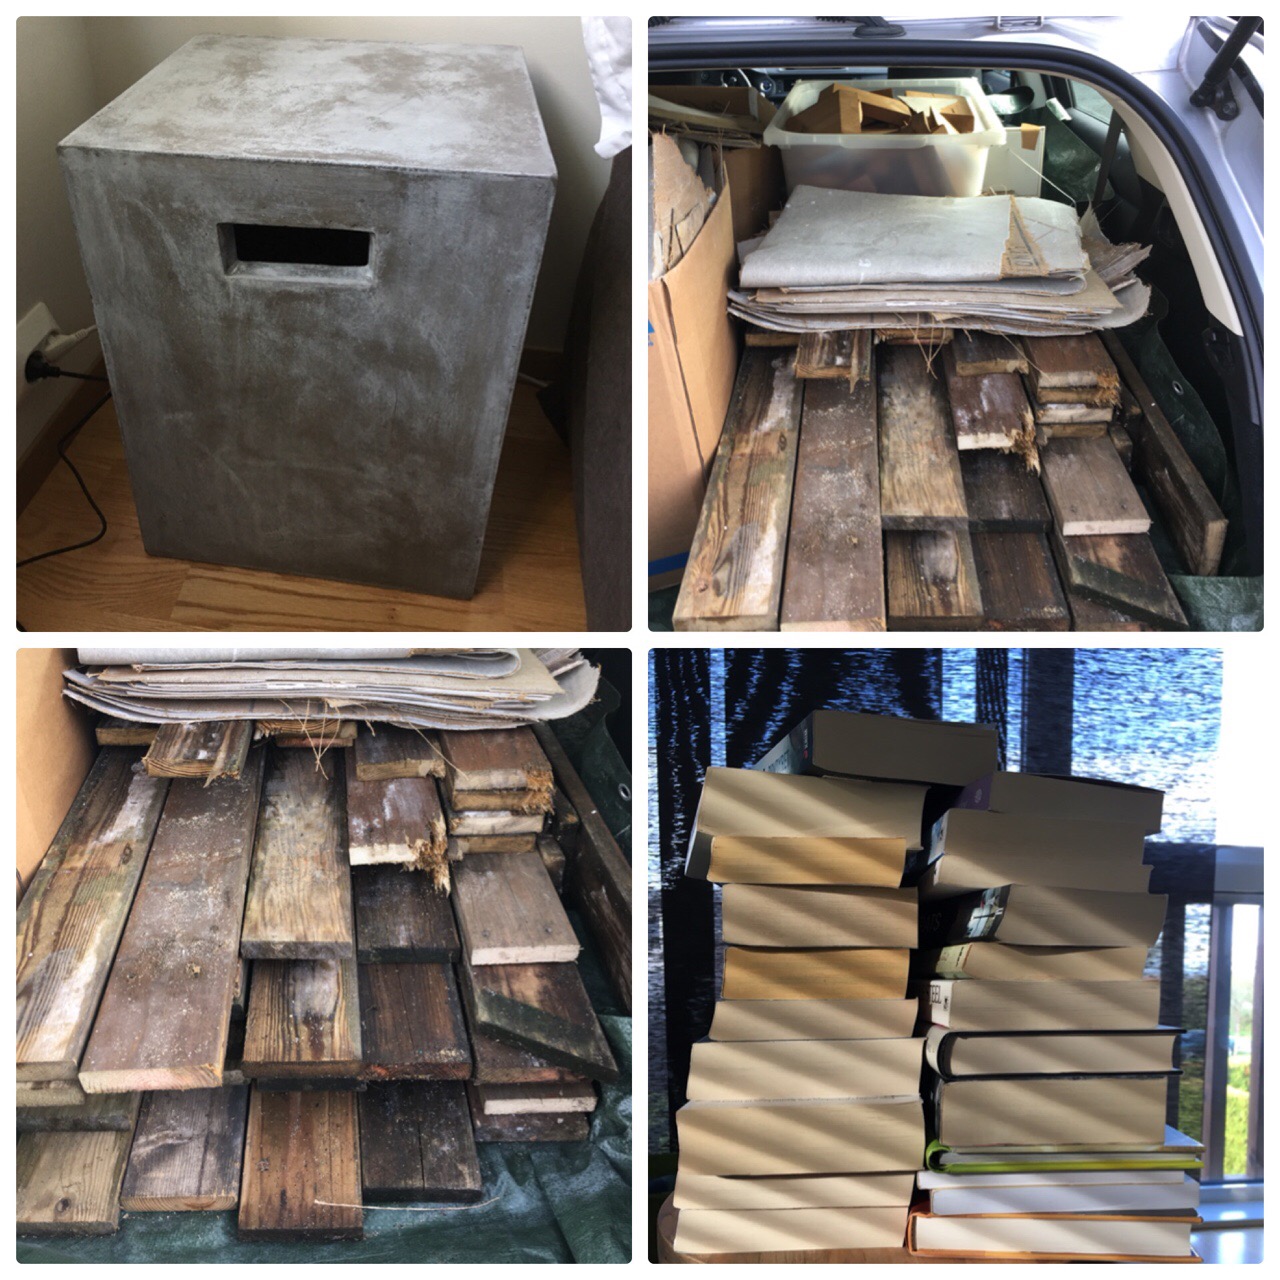
1 concrete side-table – sold today
I box filled with decking cutoffs
49 old no longer usable decking boards
(the rest Β of the stuff in the car is old flooring from step mums place.. so that’s not mine to count πŸ˜‰ )
21 books

Out-the-door = 72 items

Which brings my grand total for 2017 to 1017Β πŸ™‚Β 


Guess this is it, for now! You should be all caught up.. kinda πŸ˜‰ So hang tight.. and I’ll see you soon!

Spring project – One big wooden deck!

B and I have been a couple of busy bees lately (actually, since we came home from England, helping mum out). We’ve been working away at building aΒ 540 square feet (about 50 square meter) wooden deck.

Yep, you heard right.. a itzy bitzy 540 square feet deck… just kidding, in our world this is a bigΒ deck!

Last fall, we visited aΒ former colleague of mine, and she happened to mention she’s been wanting (for quite a while now) to extend her current deck, with about 150 – 170 square feet.

We thought that sounded like a fun little spring project, so we kinda threw it out there – “Hey.. we can help you with that!” πŸ™‚

Little did we know at that time, that this tiny little project would take on a life of it own (which I guess things have a habit to do), and morph into a 540 square feet project instead.

That’s a heck of a change, you say, and you would be right πŸ˜‰

As the story goes, there was a good reason though. There was a bit of discussion on how to add the extension to the old deck, and make it look half decent (the old part was close to 40 years old). So we all decided that, for the deck to look it’s best, we would remove the old deck boards and put down brand new ones. And presto, now we are talking 540.

Turns out it was a good decision, as a few of the old deck boards were in bad shape (some even rotten). It also gave us the opportunity to strengthen the old wooden frame (which had some flaws from earlier builds), and replace areas that had had a little to much wear and tear.

So there you have it… This is where our time has been going the last few weeks (which is why you haven’t seen me on the bloggosphere much).

The project has taken a little while, but thankfully my friend haven’t minded this at all, she’s been happy with any progress we had… I’m super thankful for this, as there was never any pressure on us, and it worked perfectly with me and my need to pace myself (due to my health issues). I wish everyone was as patient as this. Β πŸ™‚

But slow going or no. Guess what? We are now officially done, new deck, new stairs and everything. And boy does it look good if I say so myself πŸ™‚

Why don’t you take a look for yourself πŸ˜‰

OLD DECKΒ 

ALL TORN UP

BUILDING THE FRAME ADDITION

DECK BOARDS GOING IN

WOOHOO! ALL DONE πŸ™‚


What do you think…? Approved?

Can’t wait to see some flowers on it later this summer… I’m sure we can sneak a visit to check it out, when she has it all decked out (see what I did there πŸ˜‰ ) with furniture and plants.

Kitchen – Day 8

Seriously! You’re still at it? I thought you were done? I can hear you wondering πŸ˜‰

Well, yeah! I am actually done πŸ™‚ For those of you that think this job have taken forever (which it did), day 8 was actually Monday this week. There was just a few days I was too tired to even write about the days work, that it’s taken me a few extra days to get it all out here on the blog πŸ˜‰

Day 8 – clean up day!

The last day of kitchen work was pretty much dedicated to getting the last bits and pieces in order.

I decided that since I was going to do all this work on the kitchen, I might as well do the yearly cleaning of the kitchen at the same time. You know, that job where you empty everything in your drawers and cabinets, and wash the units and the stuff in the unit.

After using the grinder on the kitchen counter, there really wasn’t much choice in the matter. There was this fine layer of laminate dust on the shelves in my upper cabinets, so I just went ahead and washed them down, and put the glasses and plates through a quick cycle in the washing machine (some got washed by hand). And at the same time did all my other kitchen shelves and drawers. It’s nice to get a completely clean kitchen and knowing that everything inside the cabinets are all neat as well. Christmas cleaning – check πŸ˜‰

After everything was nicely put away and I had my kitchen back, it was time for that last crucial detail that needed to be done. Caulking (with silicone) around the countertop to make sure no water could go were it shouldn’t go.

Since the crack between the countetop and the backsplash, was barely there, I decided to use blue tape to help me out. I taped the kitchen counter and taped the backsplash, so only the crack to put the clear silicone sealant in, would be open. This helped a lot in being able to push silicone into the crack without being worried about getting any mess on the countertop or backsplash. Β If I may say so myself, the end result is really nice. You can’t really see that there is any silicone there except for a little bit of glitter when the light hits right.

I used the same idea when putting in the silicone between the wall and countertop, and side cabinet and countertop. It gave me the opportunity to really mash as much as I wanted into the crack without making any mess whatsoever πŸ˜‰

One final wipe of the kitchen counter, and that concludes the kitchen project 2014.

I have to admit, it’s been a lot of work, just to have your kitchen end up looking exactly like before. But at least now I have a functioning sink + LED light instead of halogen lights, so if nothing else, my electric bill should hopefully be better πŸ˜‰

2014-11-06 13.49.57


Kitchen – Day 7

Cooktop and oven time.

As easy as the plumbing was, the harder this was…

What we needed to do was cut out the hole for the cooktop. First we measured everything out. We put the cooktop upside down on the counter, in exactly the spot where we wanted it, drew a line around it, removed the cooktop and measured about 6 mm in from the line we drew, and drew up the cutting lines. The cooktop “lip” was only 10 mm, and we needed a tiny bit of wiggle room, so we decided to go for approx 6 mm so that the “lip” still had some support.

I told you my countertop consist of a 10 mm thick laminate, right? Well let me tell you, 10 mm of pure laminate is hard, super hard to cut in. I remember when we installed the original countertop, how my dad swore more than once over how hard is was to cut the darn thing with a jigsaw. Not only was it hard (I believe my dad broke a sweat and a blade) but it also took forever. So this time around I thought maybe I could use something else.

First I tried my Bosch Oscillation multi tool – effective, but still very slow going, so I figured… nahhh.

OK, what’s next…. well there is the grinder… Which is a scary effective product, and it’s fast, almost too fast. “Boy do you need a steady hand if your going to try that, because if you are just a tiny bit off, you’ll ruin everything”. Hmmm, would I, would I even dare to? Β Thankfully I still had the cut off from the original plate, so I could practise πŸ™‚ It was fast… I decided to take a chance..

NOW, I would NEVERΒ recommend anyone ever doing this, you would have to have a rock steady hand, and a sick amount of confident, and it can still go wrong, very wrong! So NO, do not ever use a grinder to cut out the hole for a cooker in a kitchen bench. Please use a jigsaw as the instillation guide will tell you to do.

Having said that, I used one! The only reason I even contemplated using one, was because I spent all summer last year cutting slate with a grinder (Summer project 2013 – putting down 56 square metres of slate at the front of my house). And I knew I could cut a straight line. Unless you use a grinder for a living, please do not be as insane as me πŸ˜‰

I knew the grinder would produce an insane amount of laminate dust, so we covered up the area really well to try to keep the dust contained. Even so, it still seeped a little into my kitchen cabinets and onto the floor. Β This was not really a big deal, as I had decided that part of the kitchen “renovation” would also include cleaning all my kitchen stuff, and all my kitchen cabinets (saves me from doing it for Christmas).

OK, here goes, I’m all decked out in protective gear, mask, glasses and ear protectors. The kitchen is all decked out in plastic, tape and I have this big “bag” behind me that will collect most of the dust. And, I’m nervous! What if I muck this up?

Well, I’m proud to say – I didn’t πŸ™‚

The hole got cut, and fitted to perfection. The cooktop slotted nicely into it’s hole, exactly as planned. Phew…

Putting the oven in it’s place afterwards took all but two minutes.

A good vacuum, and a washing later andΒ this concluded the work for the day.

Only one more day to go…

20141105-085846.jpg

Kitchen – Day 6

Sink time!!! I have to admit, it was nice getting the sink back in order, it was getting a bit tedious having to run upstairs every time I wanted some water πŸ™‚

Day 6 was dedicated to installing the tap and installing the plumbing for the kitchen sink and dishwasher. It was a little bit of fiddly work, but kinda fun.

First one out was the tap! My new sink is not quite the same as my old one (the old one had gone out of production), so the measurements are a little different, and because of this, the hole for the tap was not quite in the same place as my old one. So we had to do some adjustments to the piping to make everything fit. It’s not difficult work, but for some reason (just like with everything else) it’s time consuming. Β It was wonderful getting the tap in, tested out and have everything work like a charm.

Sink time! Remember I had practised where all the plumbing would go? Well, this served us well. It made the installation much quicker and easier since we knew which pipe had to be cut and knew which pipes to connect to each other. It didn’t take long before the plumbing for the sink was in, and it was time to test everything. and presto… no leakage, hurray!!!

Dishwasher next, this actually took a minute, not because it was difficult to install the piping and water, but because we had to spend some time getting the machine just perfectly situated in it’s spot, level it out and fasten it to the countertop, to make sure it didn’t move while pulling at the door.

Day 6 concluded with functioning tap, sink and dishwasher… I’m back in business πŸ™‚

2014-11-03 10.02.05

Kitchen – Day 5

After our rather stressful day 4, our next task – putting in the new countertop – was almost (I said, almost) easy.

We had decided that the task that day, would be put in the countertop, and then relax! Little did we know it would take longer than we thought πŸ˜‰

My countertop consists of a 10 mm thick laminate + a 30 mm thick aluminium list. To support the laminate, there are some support bars across the underside of the countertop. As you can see from picture 1 below. These support bars are normally spaced so that they will rest on the under cabinet walls, to make everything really strong and supporting. Β On the original countertop, the support bars were placed correctly, on the new replacement countertop, they didn’t bother about taking this consideration, and it turns out the support bars were in the wrong place. As an example, one of them was right smack in the middle of where my cooker was supposed to go!

Well, that would be an easy fix. Right? Ehhh, nope! Not only was the support bars screwed on, they were also super-glued to the laminate! I think it took me half an hour just removing the one that was “in the middle of my cooker”. Oh, no… was this looking to be a long days work after all…

We decided that rather than move the other ones to the area that they needed to be, we would just addΒ bars instead. So that’s what we did, we used the one we removed and stole one from the old countertop πŸ˜‰ And what you see on picture no 1, is a countertop ready to be installed.

The installation it self wasn’t hard work, we had to juggle it a little to sneak it in between the cabinet and the backsplash above. But! Turns out I had not managed to remove enough of the old silicone that was used for the old one, so the new one wouldn’t go all the way to the wall. Darn…

Not allot of ways around that one, other than spend the next half hour, cleaning away all old silicone, and then give the wall a quick repaint to make sure it’s protected.

Have a coffee break and try again…

Second time around, woohoo, Β it fit πŸ™‚

Wonderful! So we pulled it out again, put some silicone at the wall, and underneath the backsplash fittings and showed the countertop back into it’s place. And the next half hour was spent fastening the countertop to the cabinets, just to make sure it ain’t going anywhere πŸ˜‰

So NOW we could have a well deserved home-made apple juice break!!!

Followed up by a little clean-up! And as you can see, I’m putting my friend to work πŸ˜‰

2014-11-02 10.43.42


Kitchen – Day 4

I bet you guys are curious about how my kitchen project is going πŸ™‚

Well, let me tell you! I was seriously NOT loving my kitchen countertop a few days ago!

There was a moment during day 4, that I was thinking about just posting one sentence on my blog, saying “damn that countertop”. This was probably after having spent at least 1,5 – 2 hours doing nothing but try to pry that darn thing off my wall, and I was warm, tired and feed up with the lot of it πŸ˜‰

So let me backtrack a little…

We started up reasonable well mid day. We removed all the drawers, everything in the cabinet, the oven and even the cooker came out really easy. We moved over to the dishwasher, turned off the water, managed to remove the dishwasher hoses with not to much trouble (even though it was cramped under the sink) and moved the dishwasher away. Moved on to loosening the plumbing for the sink and tap. We got to all the screws to the countertop and got all that out, easy peasy. All took but a hours or so.

And then we were ready for the countertop, and let me tell you, it was ready for us, ready for us to NOT move it πŸ˜‰

I have to explain a little – we kinda new we would have trouble. You see I have a backsplash over the countertop, that, because of the way it was fastened to the wall (clip system) there was no way to remove it. It was either break the glass, or tear the fittings from the wall (leaving big holes in the plaster), and I didn’t fancy doing either, since I kinda wanted to keep the backsplash intact.

So we had to move around the issue. Now, that wouldn’t have been a problem, if it hadn’t been for the fact that my dad did such a super job, using silicone when we put the countertop in (which was absolutely the correct thing to do). There was silicone between the countetop and wall, and there was silicone between the countetop and the backsplash sitting on top. And since there was NO way to get to the silicone between the countertop and the back wall (because of the backsplash) you can see why we were having such trouble.

After cutting whatever silicone we could get to, pulling and prodding, “tearing” and swearing πŸ˜‰ throwing our muscles to the thing, with no effect. We seriously started to contemplate removing the kitchen cabinets under the countertop, so that we could knock the damn thing off the wall (this was about 1,5 hours into trying to pry it loose)….

Coffee break!

OK, one more try, see if we can trick the damn thing. I managed to get to the silicone between the back wall and countertop where my dishwasher normally are, and that did the trick, we managed to loosen just enough that we got some momentum going and started to slowly tear the top loose. 30 minutes later… and it was off…

I am soooooo glad I have a strong friend helping me out, there is no way this would have gone as well if not…

As you can see, from the picture below, we tore a little wall with us, but that was an easy fix. Remove the loose paper, and give it a few licks of paint, and presto… we were ready for day 5 πŸ™‚

2014-11-01 09.14.56 2014-11-01 09.22.50

Kitchen – Day 3

We didn’t do much yesterday! The next stage – pulling out the countertop – is a big job, and we decided we need a whole day for it, not just an afternoon.

The plan yesterday was to change out a cold water stopcock, because last time I tried it, I couldn’t get it to work properly. This time around, we figured it out and it seems to work after all. So we didn’t need to spend the time swapping it out, phew πŸ™‚

So instead we spend a moment “practising” putting together the pieces that connects to the sink. You know, all the piping that eventually connects to the drains. I figured it was a good idea to know where everything would go before we started, it’s easier to figure it out when you are sitting on the floor with plenty of space around you, rather than when you are cramped under the sink, all worn out πŸ™‚

And today? We are going to to attach the countertop, so stay tuned πŸ˜‰

2014-10-26 14.52.05 2014-10-26 14.51.56

Kitchen – Day 2

OK – we are still working on the lights, countertop light this time. You know, the one’s that are mounted under the upper cabinets! I have 5 of those.

First day with lights was a bit fiddly because I didn’t have a lot of space to work with. This job, plenty of space, but more work.

When we installed the kitchen originally, we used some cover panels underneath the cabinets, to make everything look nice. It also gave us the opportunity to hide the wires for the under cabinet lighting.

This time around I decided to recess the new lights into the cover plates. I figured it would be a much nicer look, than putting them on the outside, like the old one was. Since these lights have their own wiring system, we needed to get a little creative for how to hide the wires. and we decided to make an individual “groove” in the panels for each wire. Off course I completely forgot to take a photo during this process? Even though you can see what I’m talking about, on the first photo, on the second photo collage.

Pulling down the cover plates with the old lights, was easy enough, just unscrew, cut the wires and the panels was off.

Removing the old lights, easy peasy! Installing new ones? Not quite so much, but I guess that’s always what happens. It’s easy to tear down, not so easy to “build up”.

Fortunately I have pretty good tools, and as we know good tools are half the work. That all worked really well, until we tried to drill the holes for the lamps. Turned out my 56mm cutting tool, just didn’t want to corporate 😦

So what is a girl to do? Well the only solution was to buy a new one, and since we had to pack up to leave the house any-ways, this was a perfect time to do lunch πŸ™‚

Back home again, I have to admit, it almost took longer to get the tools out, than to drill the 5 holes for the lamps.

Lamps installed (using screws, not clips πŸ˜‰ ), wires installed in their “groves” (with a little help of tape to keep the wires in place), and we were ready for first panel/plate to go back up. This one only had one light so easy. Second plate, with two lights, just as easy, now the final and last plate, turned out to be the one to give us trouble! Mostly, due to the fact that the wires from the second plate, continued in “groves/channels” in the third plate… Crap! Fiddly stuff again 😦

We attacked the third plate, got the wires in place, pulled nicely at them to straighten as we “feed” the third plate closer and closer to the second. Screwed it all in place…. and is was crocked at the back, a wire had caught! Down again and start over! Second time around we had it down to a fine art, and within 20 minutes it was done.

Connected all the wires to the transformer, turned it on. Woohoo, it works!

Lights done!

Now if the rest would just be this easy (even though it took us all day) πŸ˜‰


2014-10-25 20.08.542014-10-25 20.14.562014-10-25 20.16.17

Kitchen – Day 1

We decided to tackle the lighting first! But we are doing it in two steps Β – no reason to rush into this right πŸ˜‰

First up was the 4 lights, that are inside the glass door cabinets.

It turned out to be a fiddly process. As you can see from the picture below, there wasn’t much room to work with. I tried to remove the very thin sliver between my cabinets and ceiling, but my dad (when installing this) have obviously just about “velcroed” it together with acrylic, and I almost broke it trying to remove 😦

So I promptly had to give up on that! Which left me we only the small holes the old lamps was in, and the not even 2 fingers high sliver of an opening on top, to navigate all the wires/cables/transformers. As you can see from the picture, I ended up using a lot of rope (I figured this would be the only way I could pull the new wires).

Removing the old stuff was a pain. I have to admit my dad had done a good job installing everything, when we put the kitchen together originally, but removing the stuff!!! Seriously finger twisting work πŸ˜‰

Installing the new stuff on the other hand, went like a breeze Β – probably had something to do with all that rope already in place πŸ˜‰

It looks really good, but I’ve come to realise one small mistake. Installing the lights, you could either fasten them with small screws or a clip, I used the clip (it was easy), but have realised that if I ever need to change them out later, I will have to “break” the rim of the lights, to pushΒ them through the cabinet, as the spring loaded clip won’t let me remove them the right way. In hindsight, I should have tried to use the screws or a small dollop of acrylic to fasten them. That would have made any potential future removal easier.

Hopefully I won’t ever have any issues with these, and since they are of a type where it is possible to change the led lights without changing out the whole lamp, there is hope I will never have to change the lamps again!Β I just figured I’d give you a heads up, if you are ever installing upper cabinet lighting, and have less to no space to work with (like me), my recommendation is to not use the clips, if they won’t let you remove the lamp the same way it goes in.

Any-ways! At least I realised this before my next 5 lights πŸ˜‰

During and Done
2014-10-24 17.28.262014-10-24 19.08.40